How to use - EmailXport Excel Merger tool
Given below is the step-by-step guide to merge Excel files using the EmailXport Excel Merge tool:
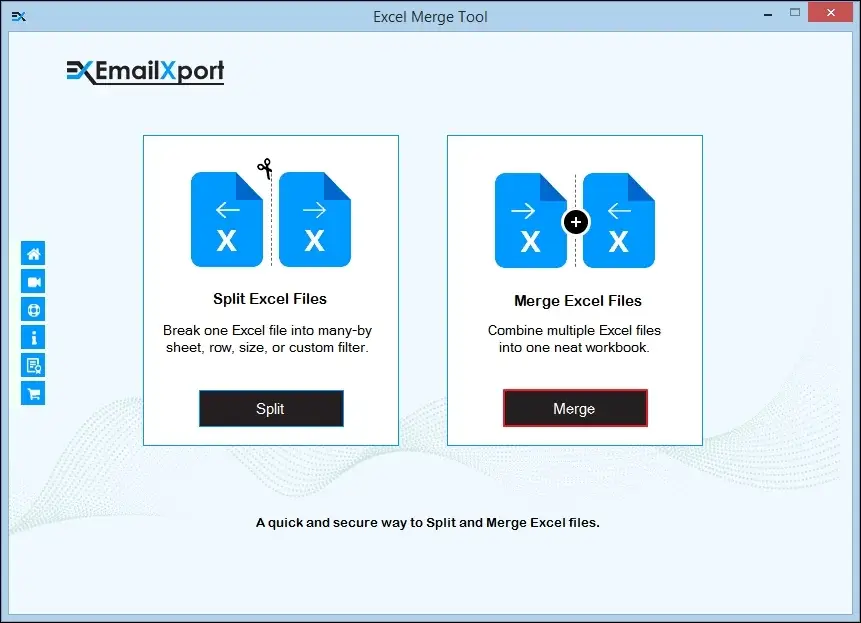
Step 1: Launch the EmailXport Excel Merge tool and choose the Merge Excel Files option.
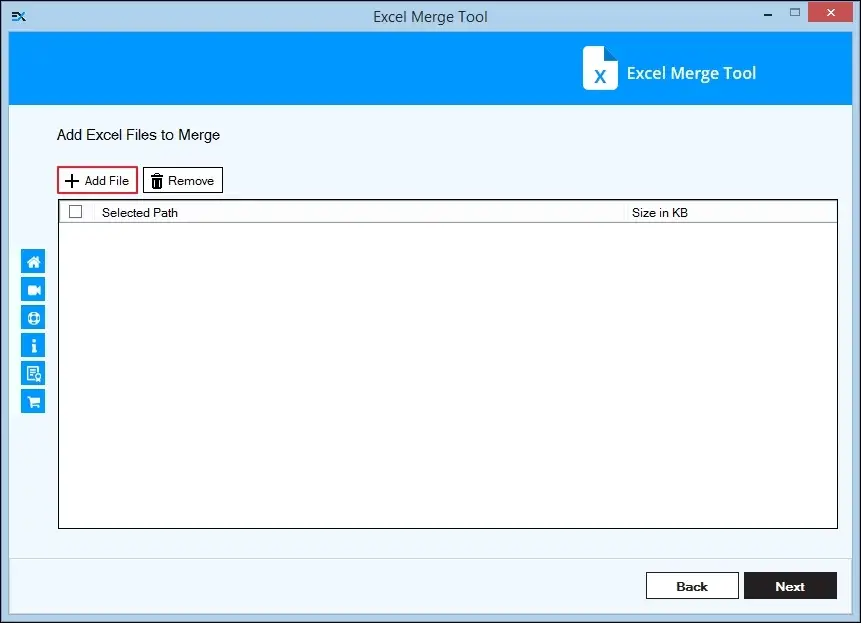
Step 2: Click on the Add Files option to add all the needed files of XLS and XLSX format.
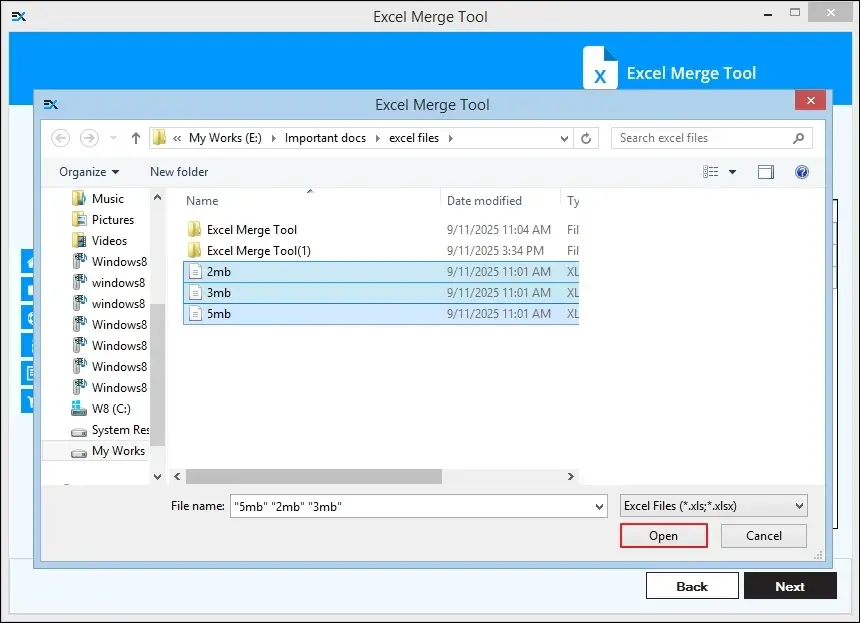
Step 3: Select all the required files and click on Open.
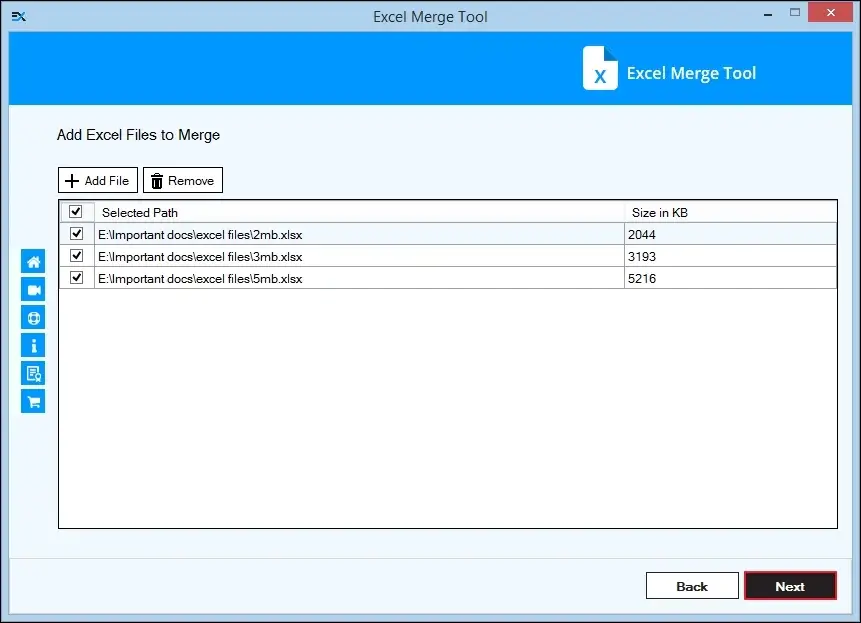
Step 4: Tick the checkbox besides the added files to select them and click on Next.
Step 5: Choose either of the Merge Options: Save in Single Worksheet and Save in Individual Worksheet.
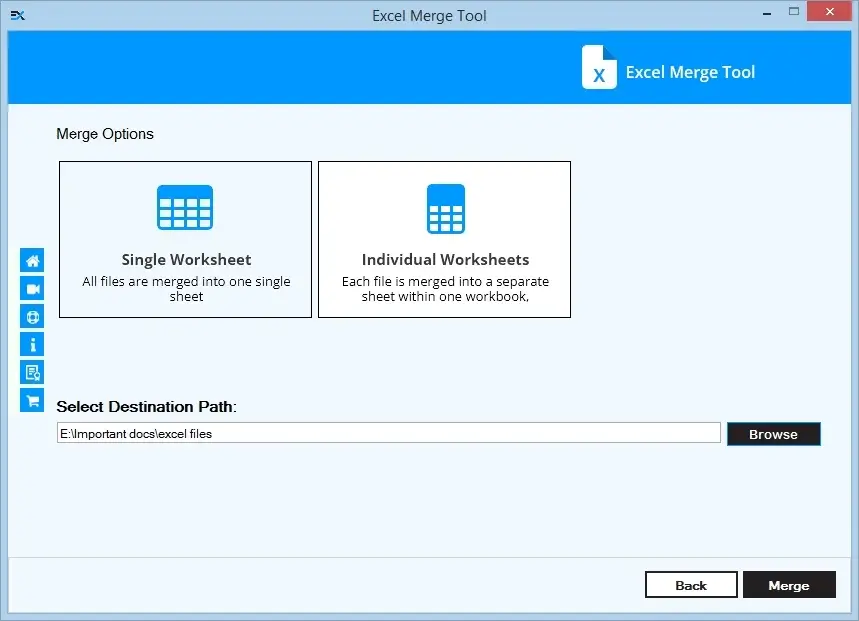
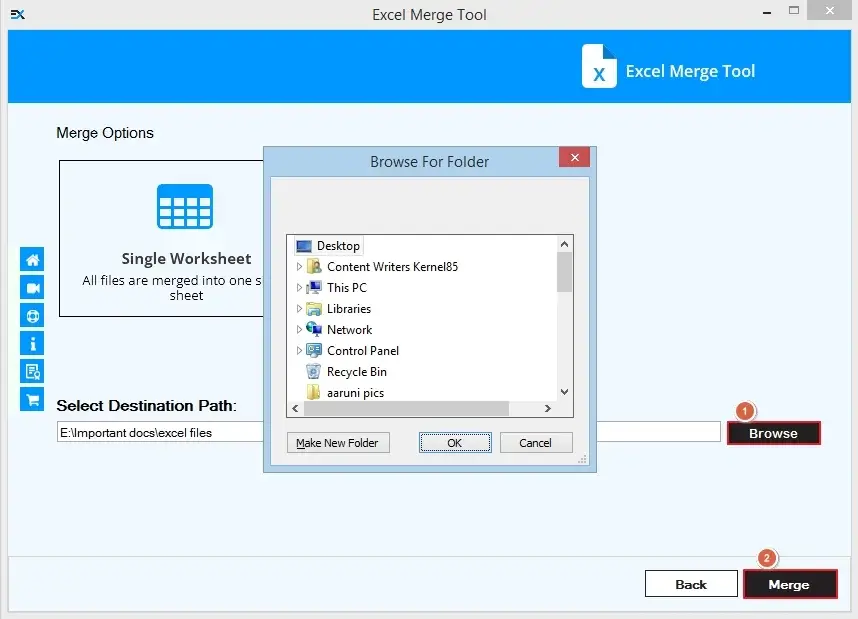
Step 6: Click on Browse to select the destination path and finally click on Merge to start the process.
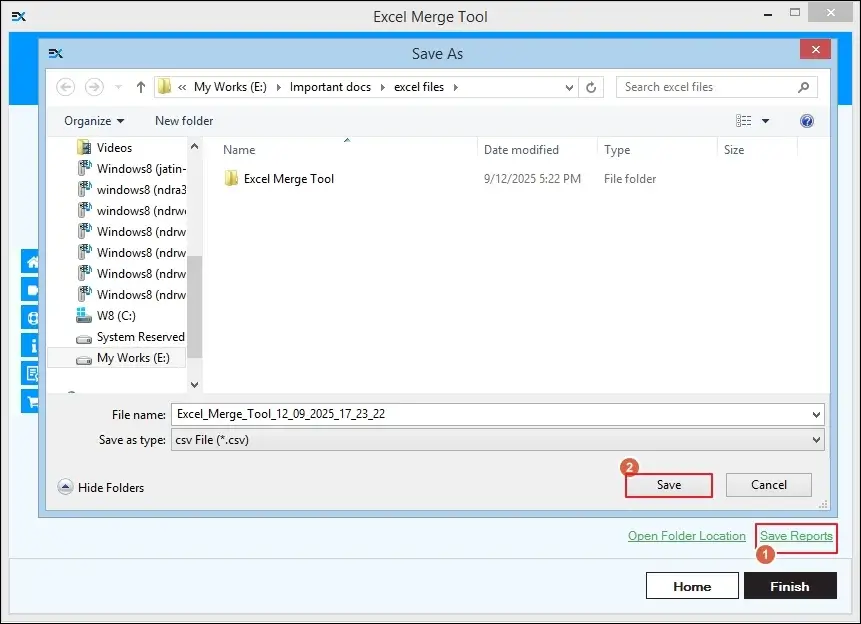
Step 7: Once the process gets completed, click on Open Folder Location to view the merged files.
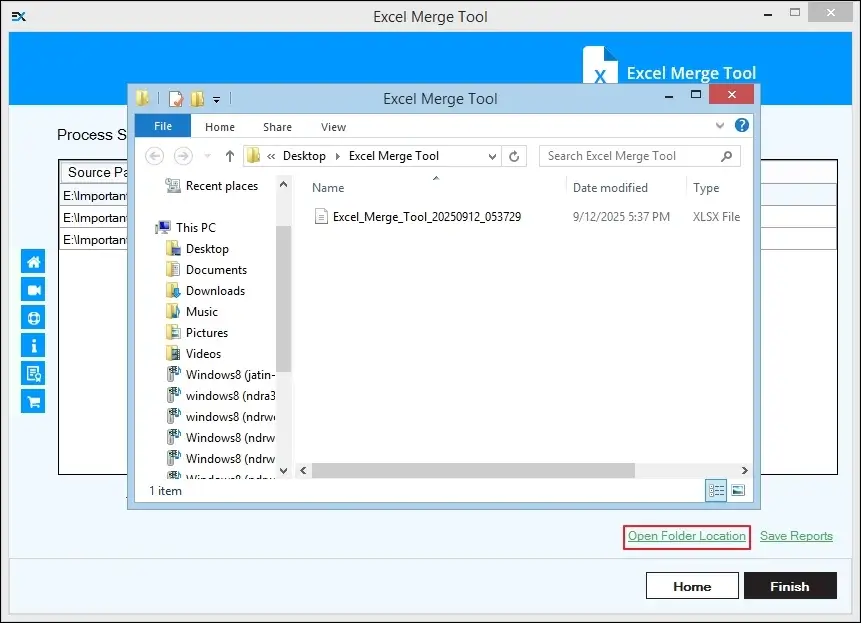
Step 8: Click on Save Reports to view the merge process summary of the completed merge process.