EmailXport CSV Merger Tool – How To Use
Step 1: Download, install, and run the EmailXport CSV Merger tool.
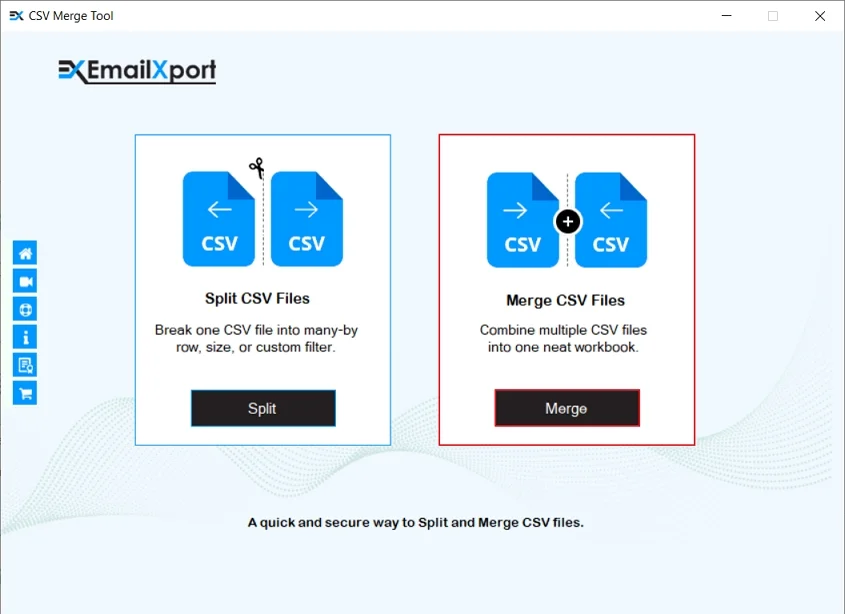
Step 2: Select Merge in the Merge CSV File tile.
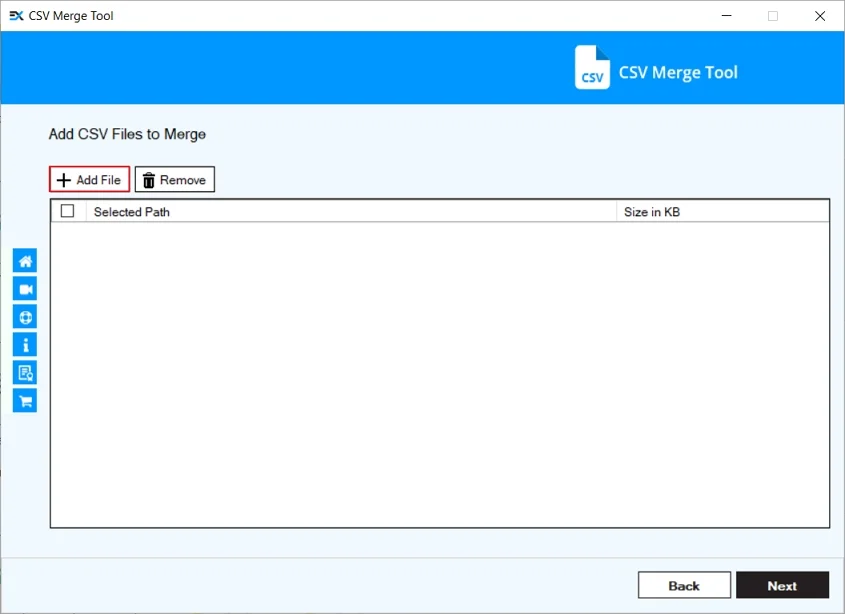
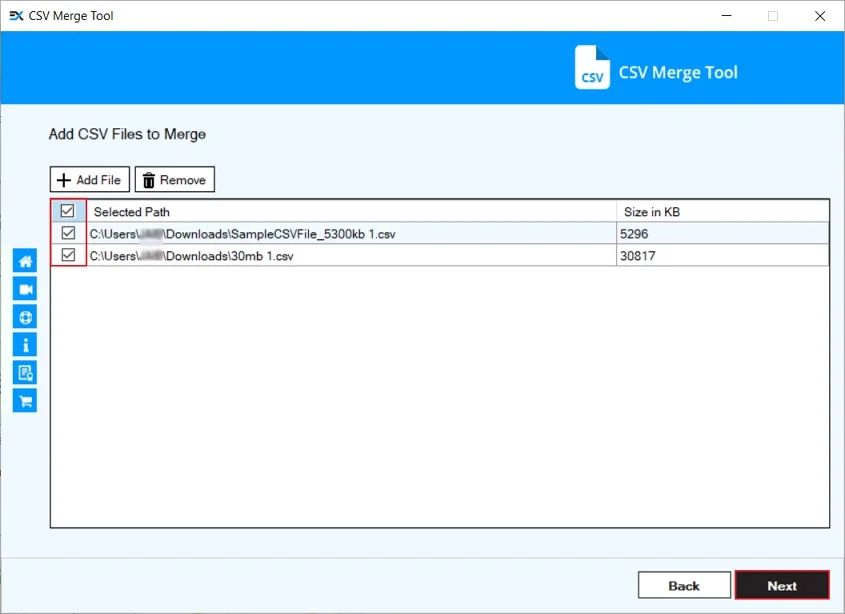
Step 3: Click on Add File to add source CSV files.
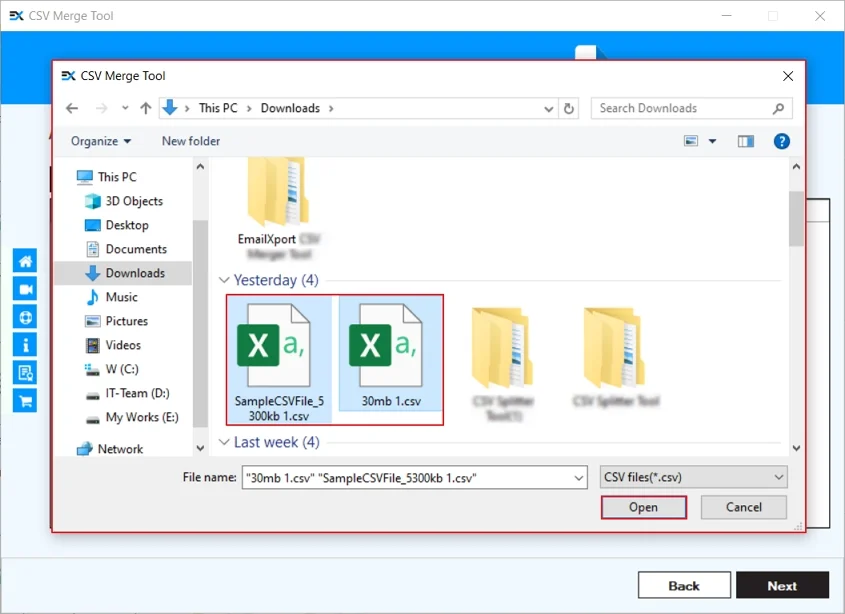
Step 4: Select CSV files from the system that you want to merge and click Open.
Step 5: Now, tick all the necessary CSV files and click Next.
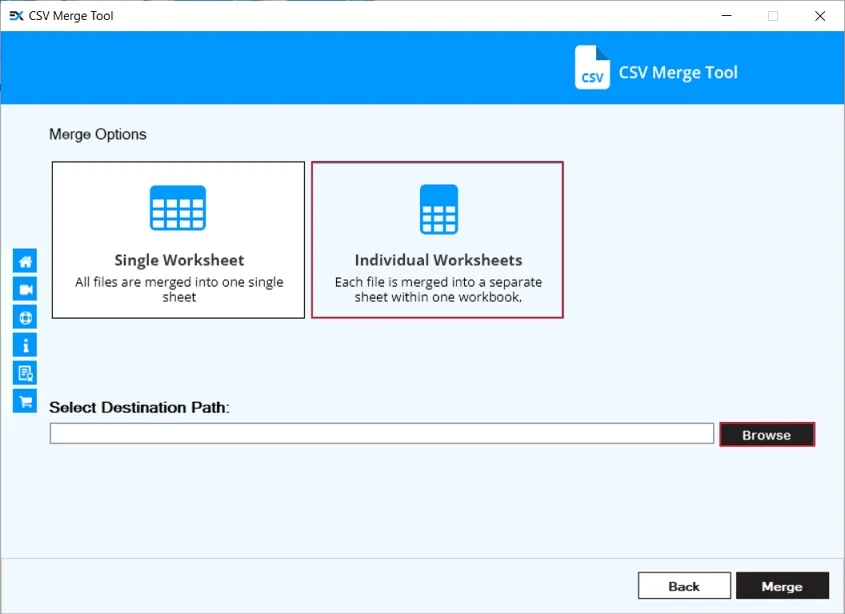
Step 6: Here, you will get two options to merge CSV files:
Option A: Single Worksheet
Select Single Worksheet to merge all CSV files into a single CSV file.

Option B: Individual Worksheet
Select the Individual Worksheet to merge all CSV files into a single CSV file by creating individual worksheets.
Step 7: After that, click on Browse to select the desired location to save the output file.
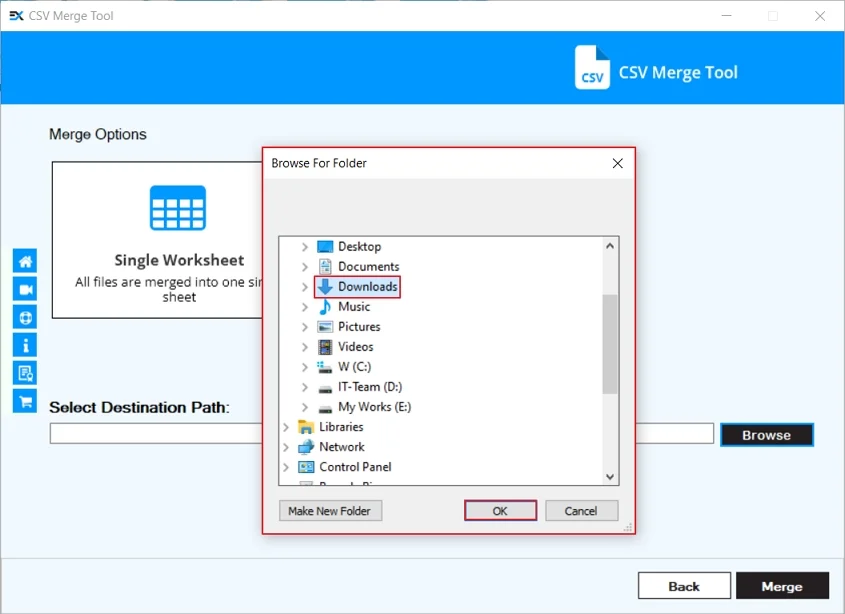
Step 8: In the Browse For Folder wizard, select a specific folder and click OK.
Note: Here, you can also make new folder to save files.
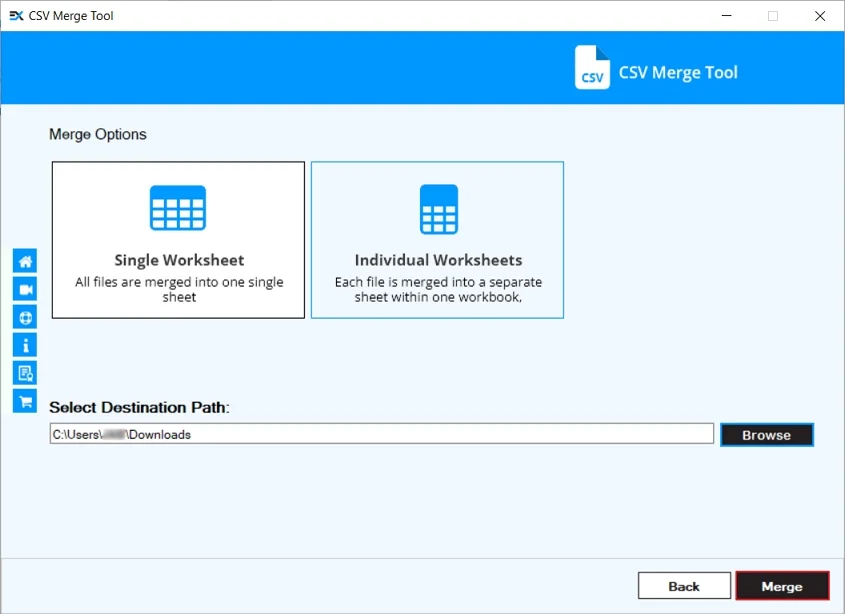
Step 9: Now, click on Merge to start the process.
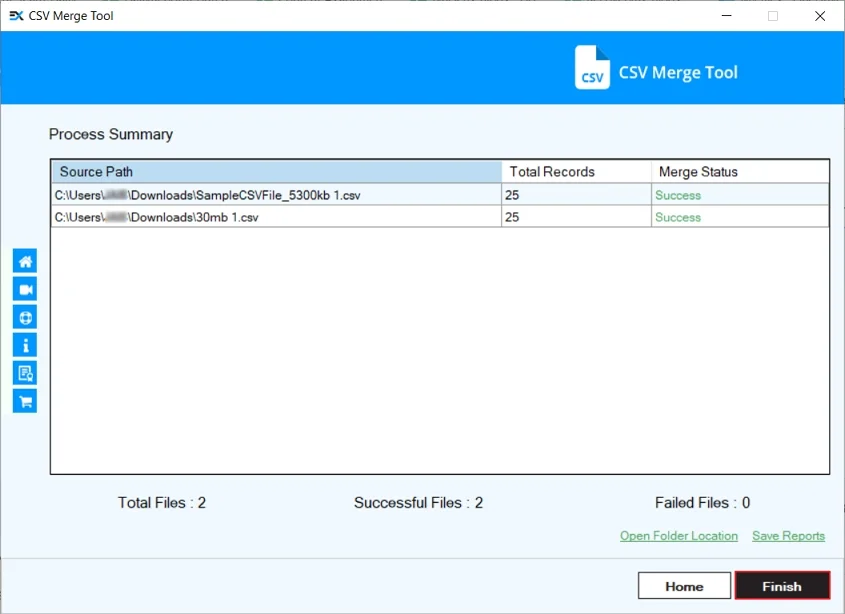
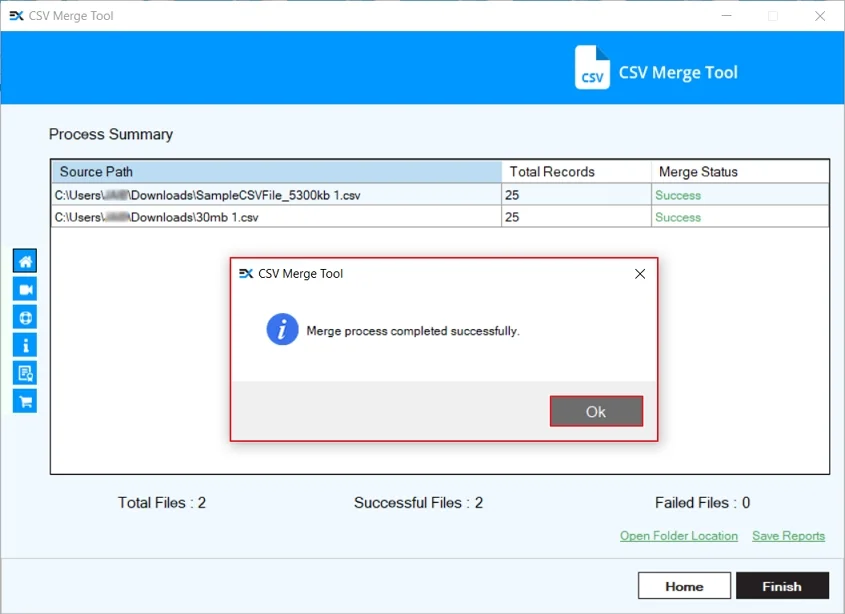
Step 10: The software will start merging files and show process summary.

Step 11: After merging all the CSV files, you will get a “Merge process completed successfully” message. Click OK.
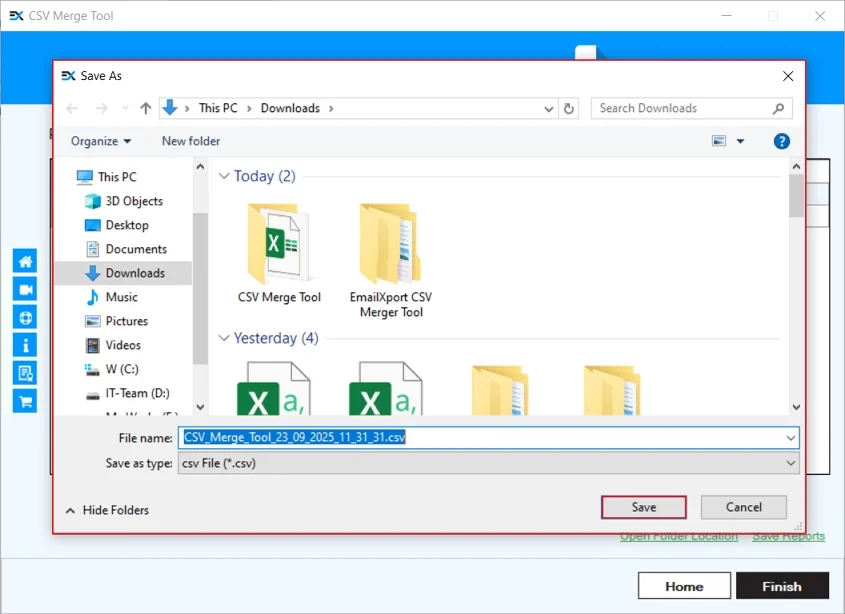
Step 12: Click on Save Reports to download the merge summary report.

Step 13: Select a specific drive or folder to Save the summary report.
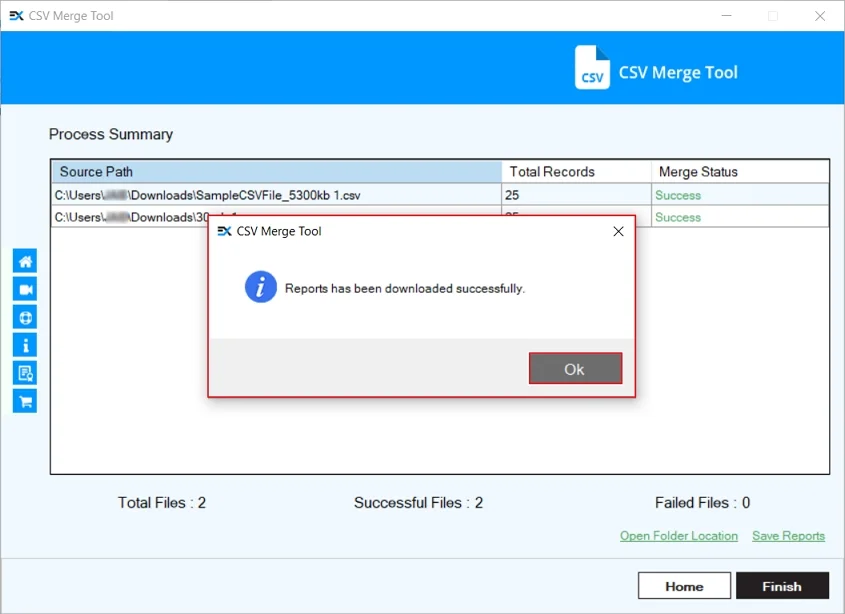
Step 14: The software will pop up “Reports has been downloaded successfully” message and click OK.
Step 15: Finally, click on Finish to end the merge process and exit software.