Splitting rows in an Excel file is a common task which allows you to organize and manage your data efficiently. Microsoft Excel itself provides several manual methods to separate rows in the spreadsheet. In this article, we will explore some manual techniques to split rows in Excel, including formulas, queries and others. First, let’s see the reasons why we need to split rows in an Excel file.
Why do we need to split rows in Excel file?
Here are some common reasons to split rows in Excel file:
- Data organization
- Improved readability
- Data import/export
- Better management
- Easier data comparison
- Improved data security
- Increased productivity
- More accurate reporting
- Reduced file size
- Enhanced collaboration
Manual Methods to Split Rows in Excel
To manually split rows in Excel file(s), you can follow the methods listed below. Follow them carefully for 100% secure and accurate results:
Method 1. Manually inserting a row
The simplest method to split rows in Excel is to insert a row between two existing rows manually. Here is how you can do it:
Step 1. Open the Excel file and right-click on the required cell where you want to insert a row and select Insert.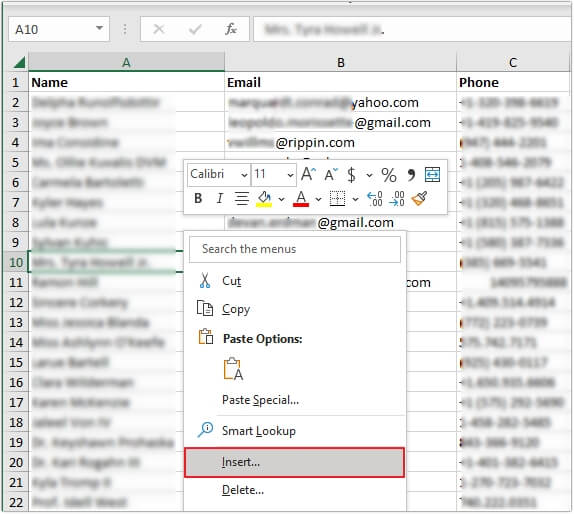
Step 2. Select the Entire row option and click OK.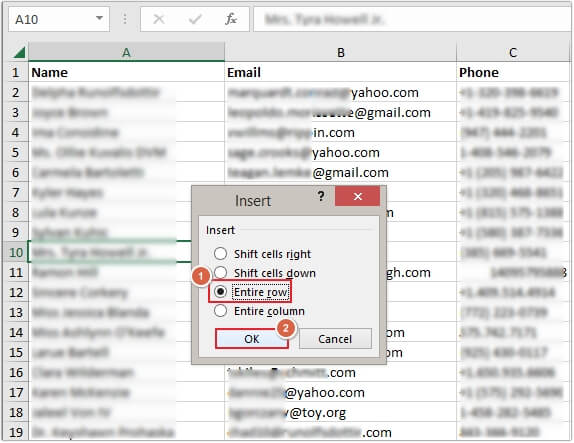
Step 3. In this way, your Excel file will get split.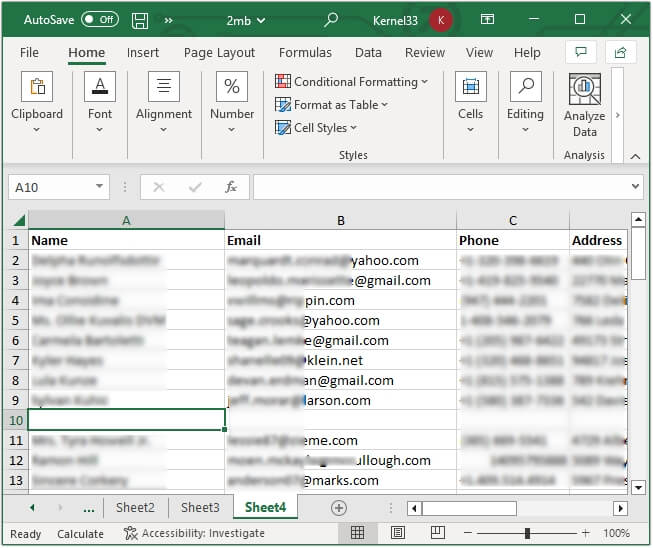
Method 2. Using the Text to Columns feature
To split text in an Excel file, you can use the Text to Columns feature. Here are the steps to do it:
Step 1. In Excel, click on Data, then Text to Columns.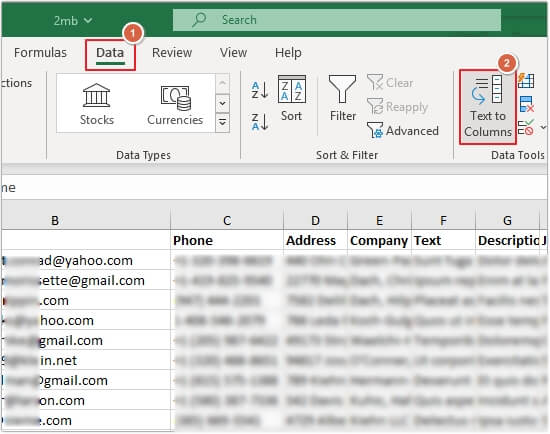
Step 2. Select Delimited and click Next.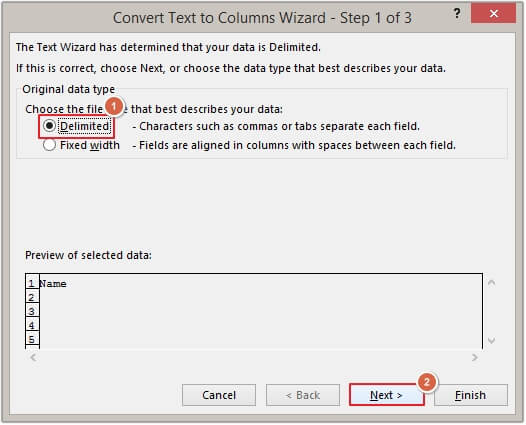
Step 3. Here, select delimiters (e.g., space, comma, tab) and click Next.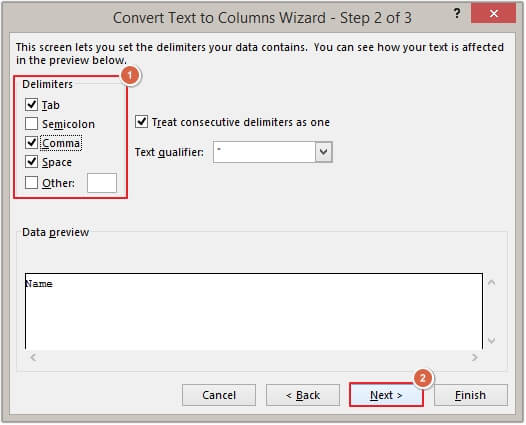
Step 4. In Advanced, select Split to rows (if available), then click Finish.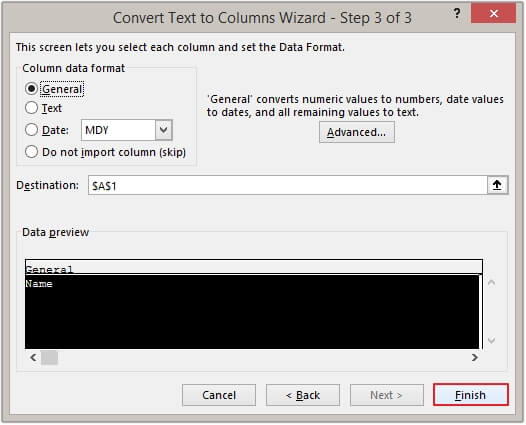
Method 3. Using VBA Script
If you are familiar with Excel’s developer tools, then you can use VBA Script to split rows. Here is the detailed procedure to perform the method:
Step 1. Open the required Excel file and press Alt+F11 keys.
Step 2. Click on the Insert button, then click Module.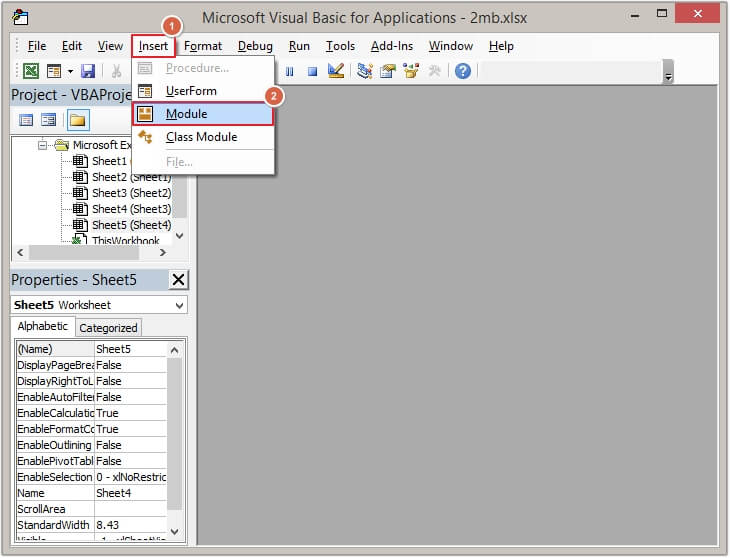
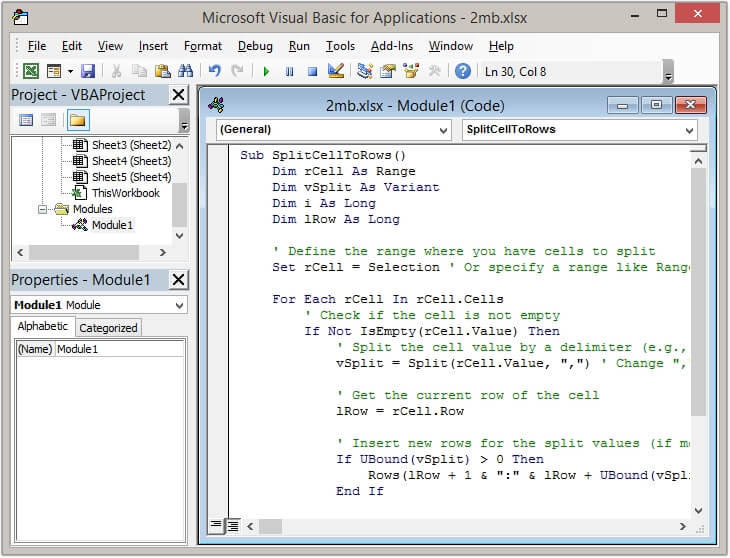
Step 3. In the newly opened window, copy-paste the below-mentioned VBA script.
Sub SplitCellToRows()
|
Step 4. Click on Run >Run Sub/UserForm.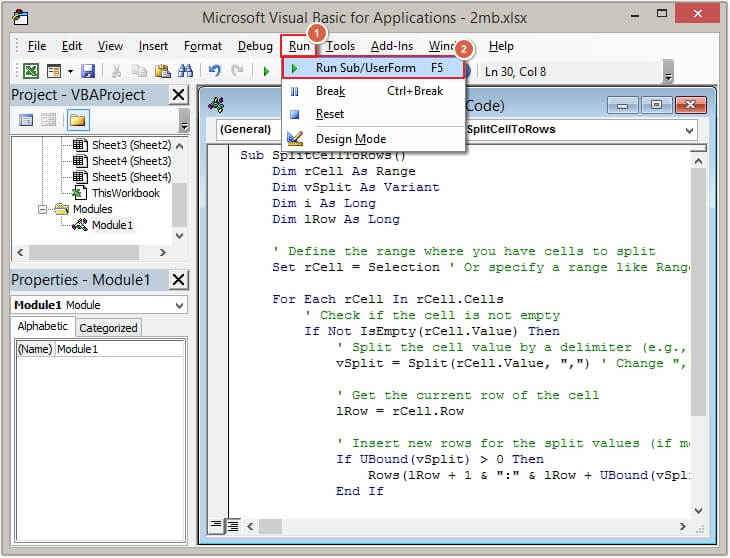
Method 4. Using Power Query
This method is recommended for users who have good technical knowledge. Steps for a 100% secure and error-free process are:
Step 1. Click on Data, then click From Table/Range.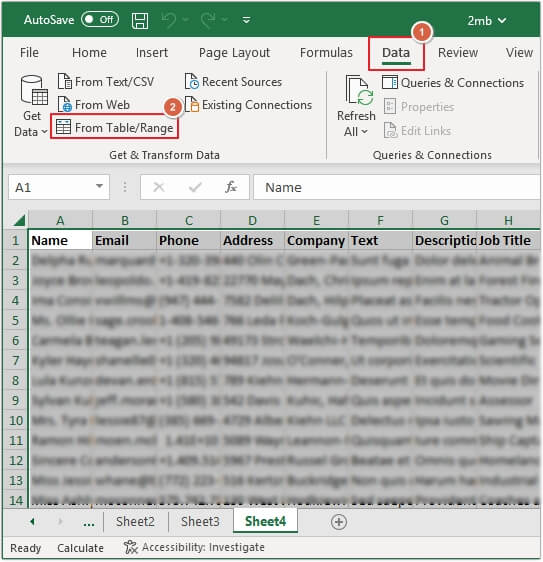
Step 2. Move the data into Power Query and select the My table has headers option, then click OK.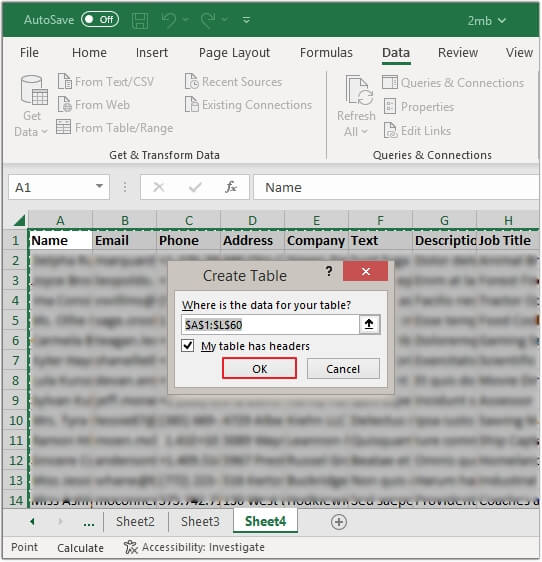
Step 3. Click on Group By.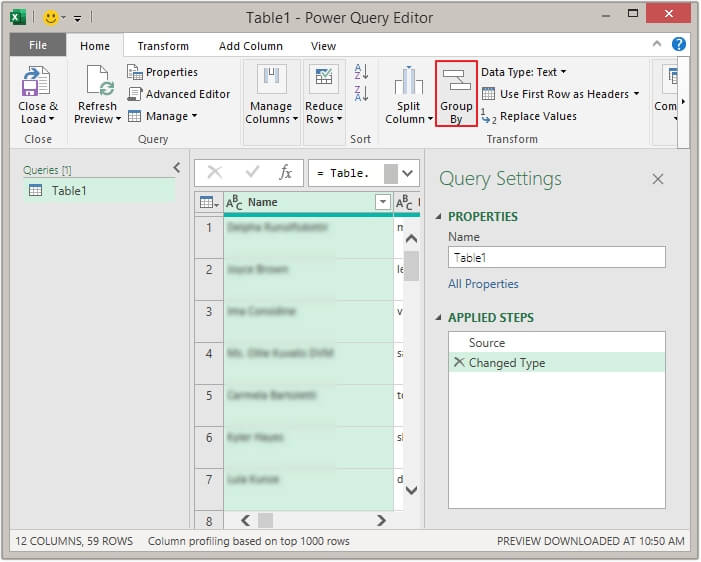
Step 4. Now, select Advanced >All Rows>OK.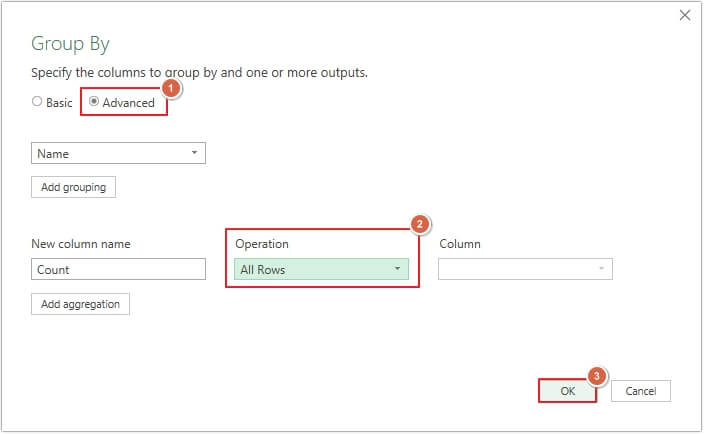
Step 5. Click on Close & Load, then Close & Load To.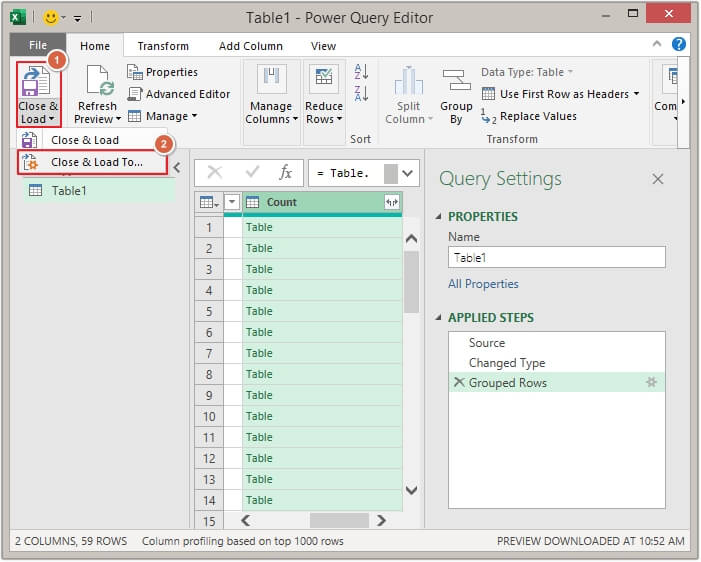
Step 6. Select the Only Create Connection option, then click OK.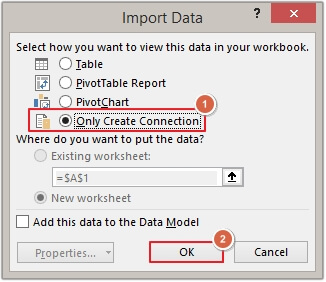
Step 7. Right-click and select Add as New Query for each group.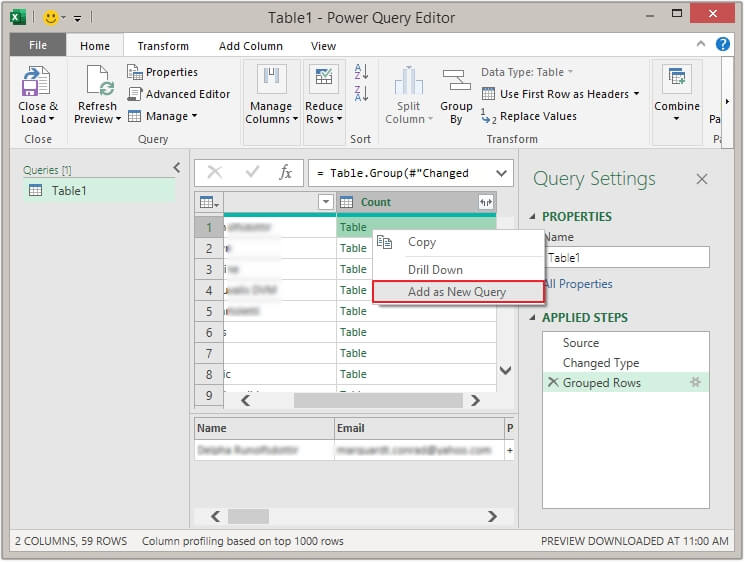
Step 8. Select the Table >New Workbook >OK.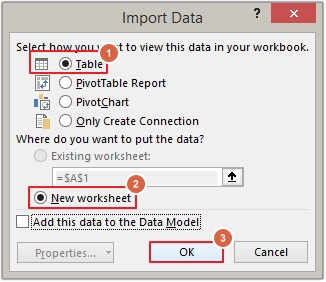
Step 9. Right-click on the desired sheet and select Move or Copy.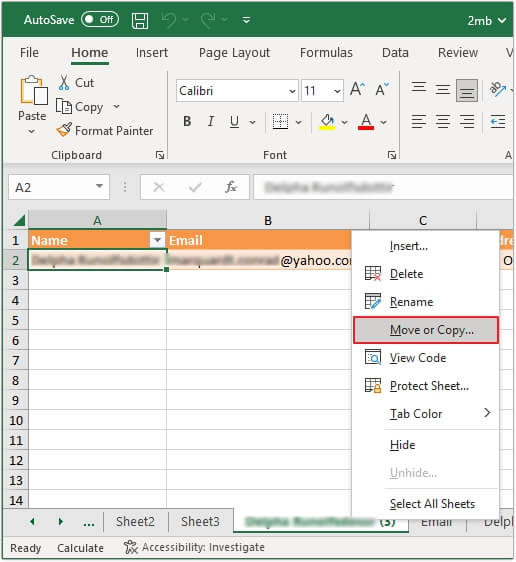
Step 10. In the To book option, select (new book), then check Create a copy and tap OK.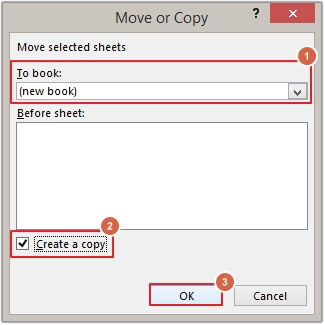
You can save each sheet manually as a separate sheet.
100% Error-Free Solution- EmailXport Excel Splitter Tool
All the above-discussed manual methods have various limitations, such as data loss, requiring technical knowledge, being time-consuming, and many more. To avoid data loss issues, we recommend using an automated Excel Splitter tool.
One of the most reliable and excellent software tools is the EmailXport Excel Splitter tool. It comes with various features, which allow you to automate the entire process and make it hassle-free.
- Supports two Excel file extensions, i.e., .xls and .xlsx.
- Allows adding single/multiple Excel files at once.
- Three options to split an Excel file, i.e., divided by rows, size, and sheets.
- Keep all the data in its original structure throughout the process.
- Offers multiple saving output formats, including XML, XLS, XLSX, etc.
- Add Excel files of any size without any restrictions.
- Saves progress report in a CSV file with all necessary details.
- Runs independently without needing to install additional applications.
- Compatible with all Excel versions, including Excel 2021, 2019, 2016, etc.
- The Excel Splitter tool free trial version allows splitting 25 records per Excel file.
Conclusion
You’ll need to split rows in Excel due to a variety of reasons that we discussed above in this blog. We also mentioned manual methods to split rows in Excel file. However, these methods come with some limitations, making them risky and less reliable.
To split Excel rows without issues, we have recommended a professional Excel Splitter tool. Download the free trial now and experience its robust features for free.
Frequently Asked Questions
A. To split rows in Excel file manually, you can use Text to Column, manually insert a row, Power Query, and VBA Script.
A. To split rows in Excel spreadsheet without data loss, you need to use an advanced EmailXport Excel Splitter tool. It provides fast and guaranteed results within a few easy clicks.